Mabon Alter Craft: Making a Corn Dolly

Have you always wanted to make hand made crafts and offerings for your alter, but you're not 'creative' or you don't have the time? Good news! Some of the best crafts are SIMPLE.
Take Corn Dolly's for example. A great handmade offering for your Mabon or Samhain alter, and really easy, and best of all CHEAP to make!
A little history
There are a few different tales about how Corn Dolly's came to be and they weren't even always made from corn, but from whatever grain or harvest was available, which could be corn, millet, grain, or wheat. The doll was fashioned to resemble a female figure, in honour of the Earth Mother, and as a tribute to ask for a prosperity, and particularly a bountiful harvest. The figures have also been used to ask for fertility blessings, and luck in general.
The Dolly's were imbued with a wish or request, and either burnt there and then, or held until Mabon or Samhain and burned as part of the Sabbat/Esbat ritual.
Hello Dolly! (I couldn't resist.. it was right there!)
You will need:
Corn Husks (an ear of corn from the supermarket has plenty of husk and cornsilk for this project, and they are usually under $1). Make sure you dry the husks first, as mold spores love moist surfaces!
Some string (natural is better, especially if you pan on burning it!(
Some clips or a spare set of hands to help you hold and tie.
I dried my corn husks between two cake cooling racks (my FAVOURITE way to dry flowers), which helped them keep a smooth, flat shape. As it happens, the ends stuck out a little bit, which curled the very edges over, which only helped to add to the dress look, so don't be afraid to let things dry as they may!

Drying the husk of one ear of corn. Cake cooling racks are PERFECT for this!
I chose the husks that had rolled together the most as the 'wingspan', and folded a few husks grouped together over the husk, to create the head and arms. You'll see here I clamped the corn together with clips, so it would hold still for me to tie some string aound it.

Head and Arms
From here, a chose some of the firmer, less appealing husks, and folded them over, much as I had for the arms, and clipped them once again to tie some string around the waist.
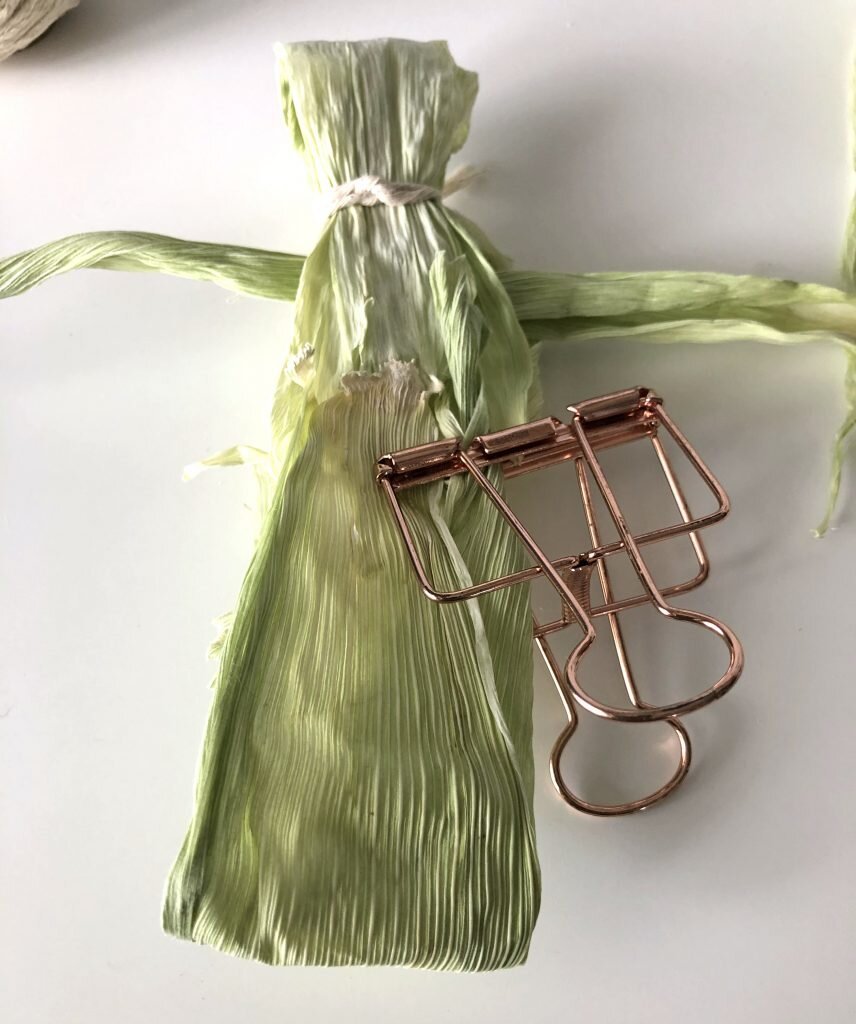
Adding some body
You can absolutely stop here!
Good news, you've now made a corn Dolly! You can continue with the rest of the steps to make it a lil fancier, but you have yourself a genuine Corn Dolly. Told you it was simple!
To create a skirt, I chose some of the husks that had gently curled at the end (a la Tiana's dress in Princess and the Frog!), and gathered them gently overlapped around the waist. This proved awkward to clamp and maintain shape, so I asked my husband (super helpful dude) to hold the doll while I tied the skirt down.
From here I chose a thin strip of husk to use as a halter type top (subtle nod to Melrose Place no doubt), which helped to keep the arms and body in a good position, and tidied the top of the dolly. Using another thin strip of husk as a belt, which tied down the halter, and helped to conseal the string, I tied it off on its own, as it knew it didn't have to withstand the pressure of holding everything together like the earlier layers.
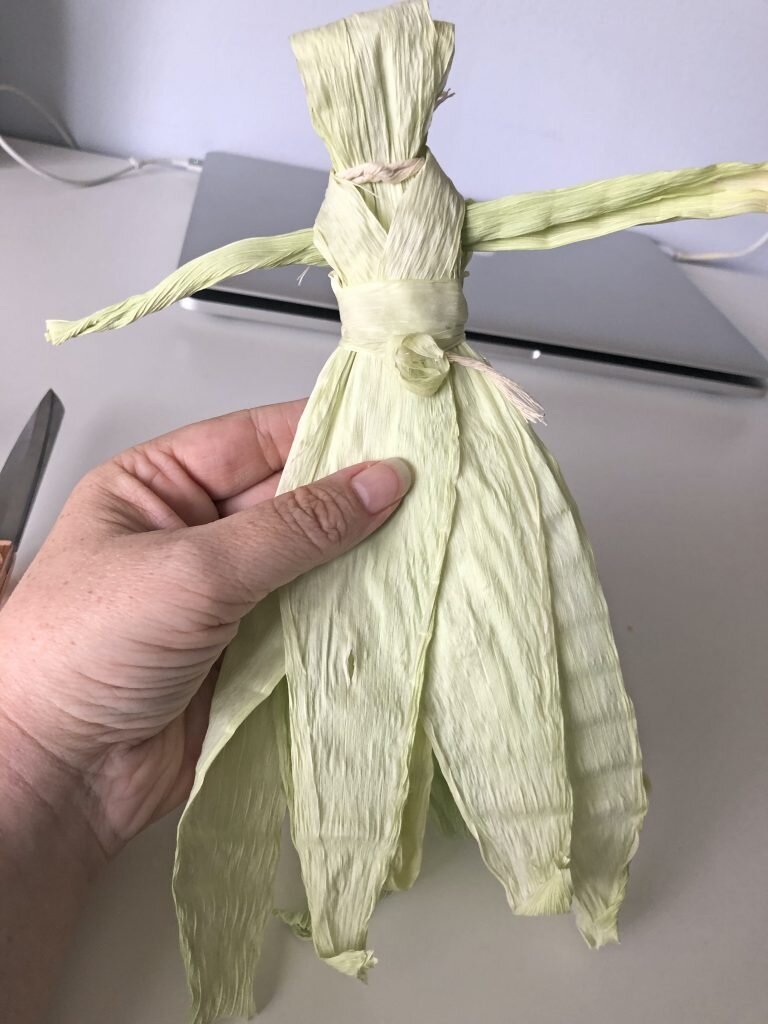
Dressed for the occasion
Hair like Cornsilk.. well actual cornsilk as it were
Don't throw out that cornsilk! Those wispy little hairs that we pull off the corn and throw away actually make perfect Corn Dolly hair! There's no need to get too fancy, just tie some string around the middle, and leaving a little string left over. You can now loop those pieces of string through the folded over husk at the head, tie it off, and gently tug the hair into place.

She got her hair did!
Simple is better
Basic crafts in my opinion focus more on the intent, rather than just to be showy, remember, you're making this for a purpose, so don't feel like everything you create should go through the 'Instagram' filter. It can be super easy to fall into the 'who Witched it better' trap, but if you're serious about your Craft, make it from the heart ✨
What's your favourite Mabon offering? Tell us in the comments!
Kerrie x